Better Performance
Set php max_execution_time, mysql connect_timeout, mysql wait_timeout , max_allowed_packet , max_connections to long limit possible, so that your server can process script for long time if needed.
Set php max_execution_time, mysql connect_timeout, mysql wait_timeout , max_allowed_packet , max_connections to long limit possible, so that your server can process script for long time if needed.
If you get 404 page not found error then make AllowOverride in your virtual host and check if .htaccess file is uploaded successfully in root or not.

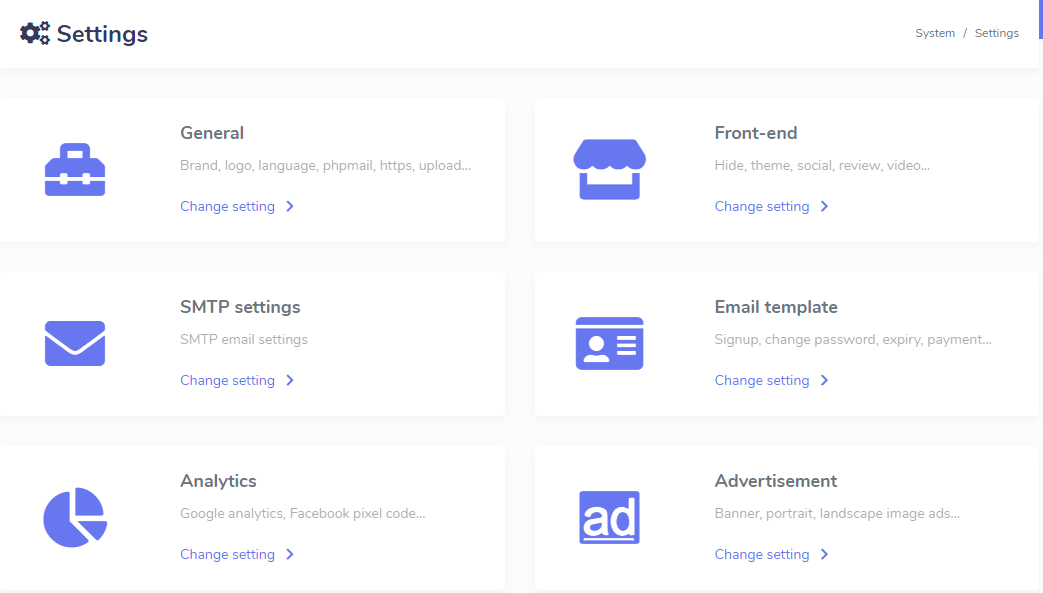
Here you will get all the system setting that you want to customize as you need. We are offering you as much customization of this system as possible. This section is devided into six sub-section.
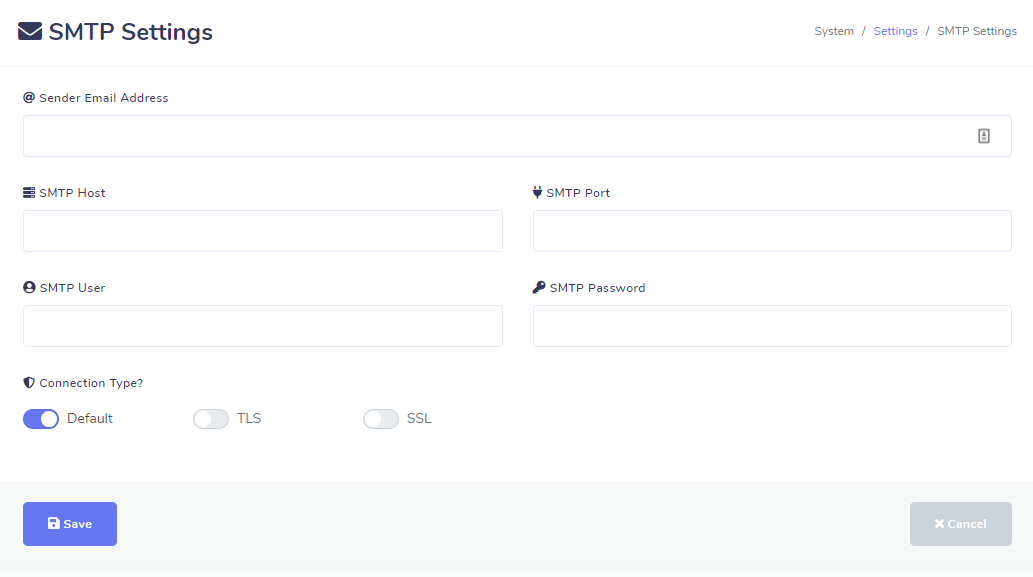
This section offers you to change settings in these sections: General, Front-end, SMTP, Email, Analytics, Advertisement
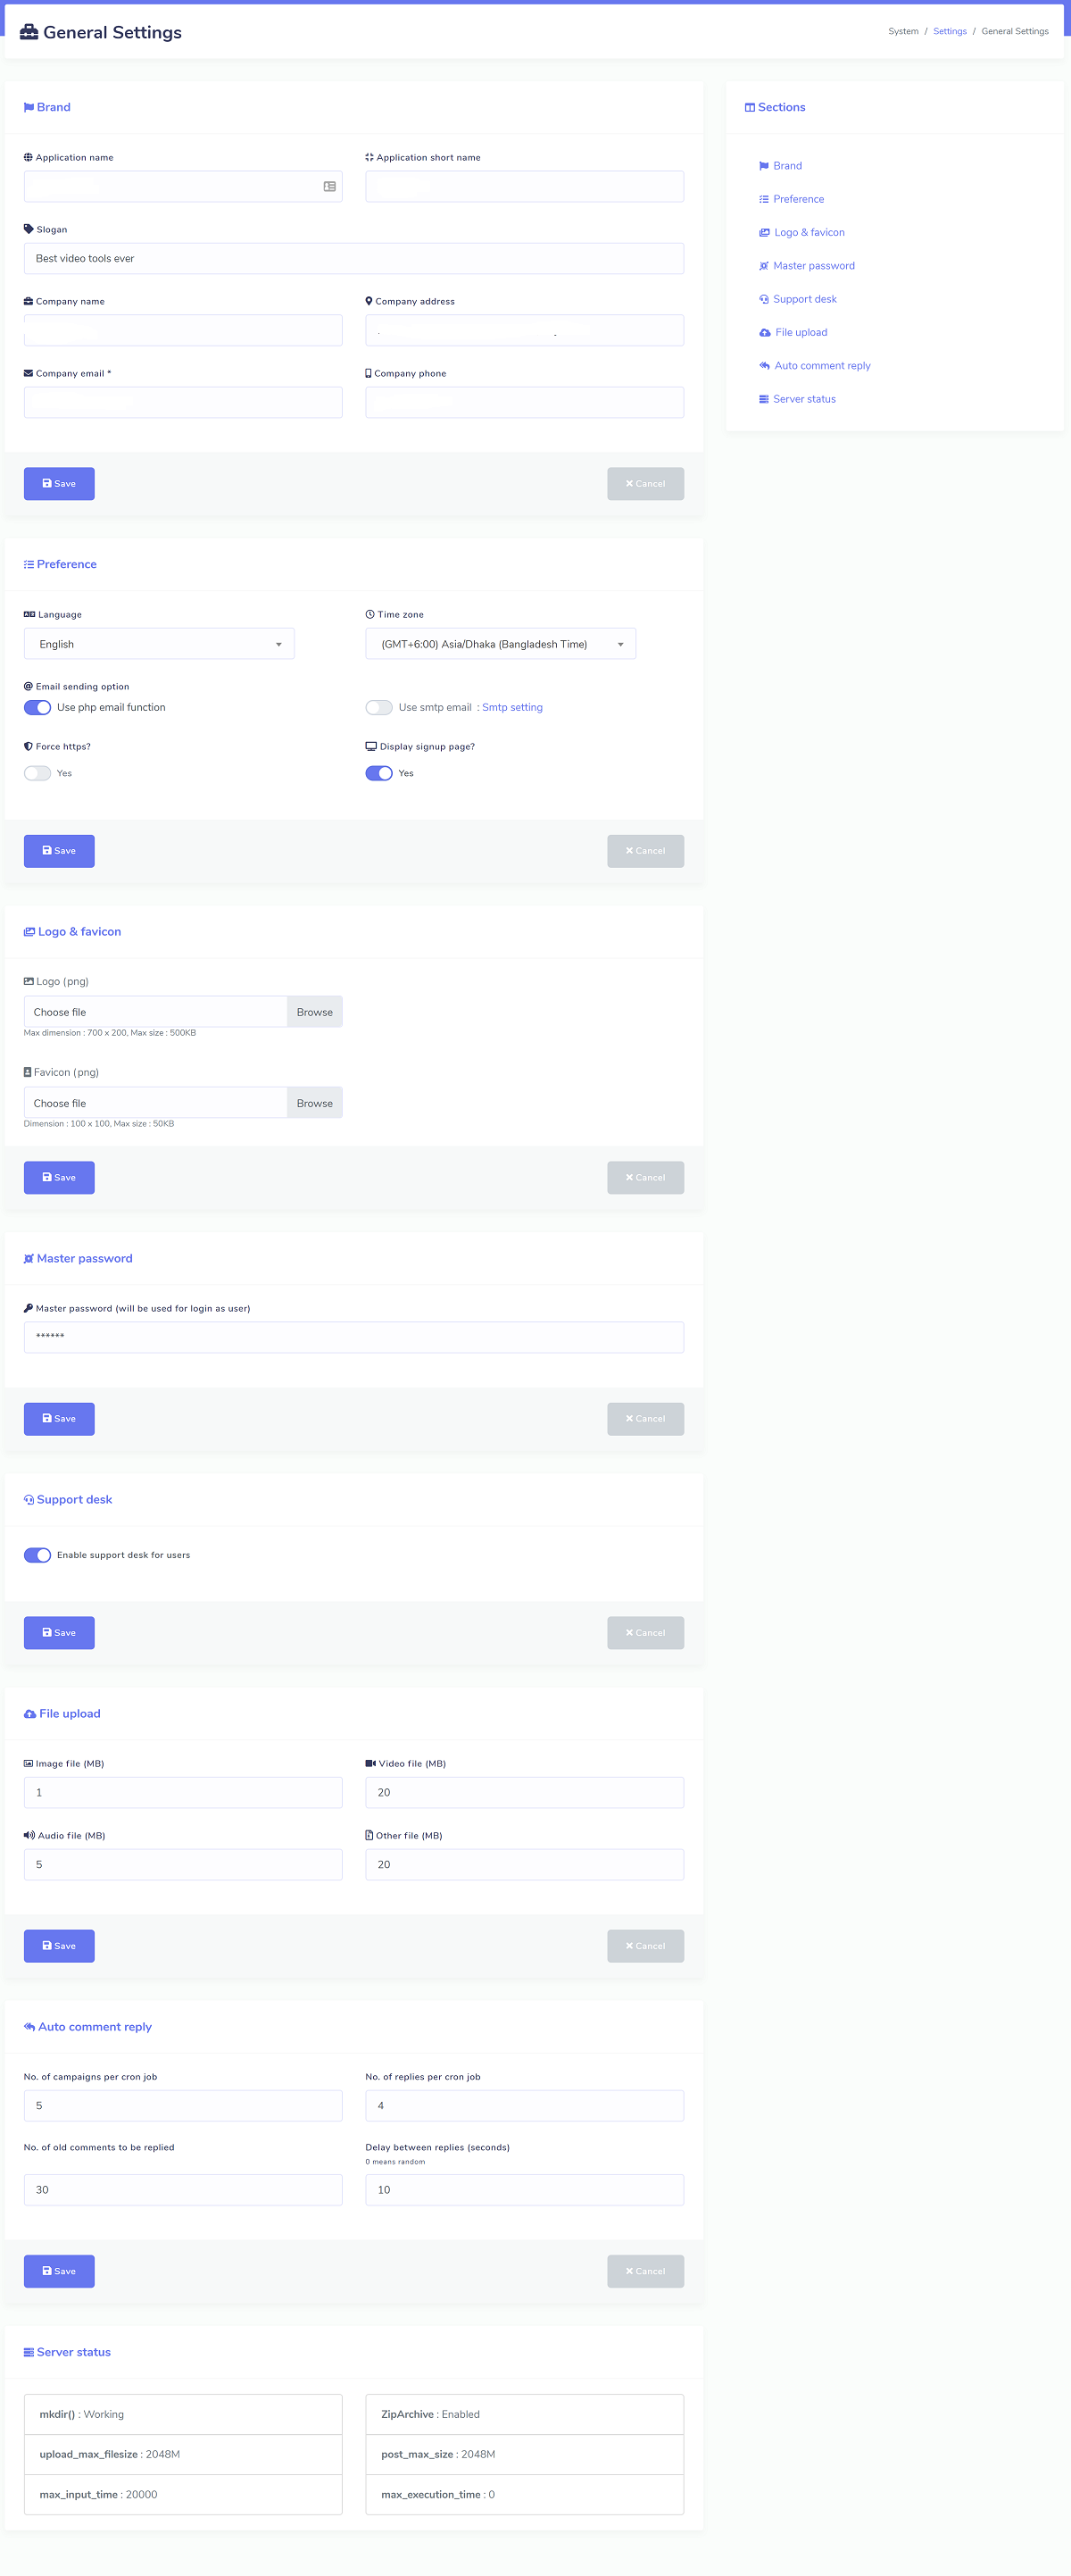
General (Only Admin):
Brand : Here you can setup your app name, company name etc branding information.
Preference : You can set system email function, it can be php mail or you can setup your smtp profile. You can force to use HTTPS and also can enable disable signup system. You can setup system default time zone and locale.
Logo & Favicon : Upload your system logo and favicon.
Master Password & App access : Set a master password and you can use this password to login as any user (except admin). You can give access to users to use their own Facebook app instead of using your app.
Auto Comment Reply : Set a number of campaigns you want to process per cron job. Also you can set number of auto reply per campaigns.
File Upload : There are various file upload all over the project. You can limit the upload size of various features from one place.
Support Desk (extended license) : Extended license provides a support desk to manage user issues. However, you can enable/disable support desk from here.
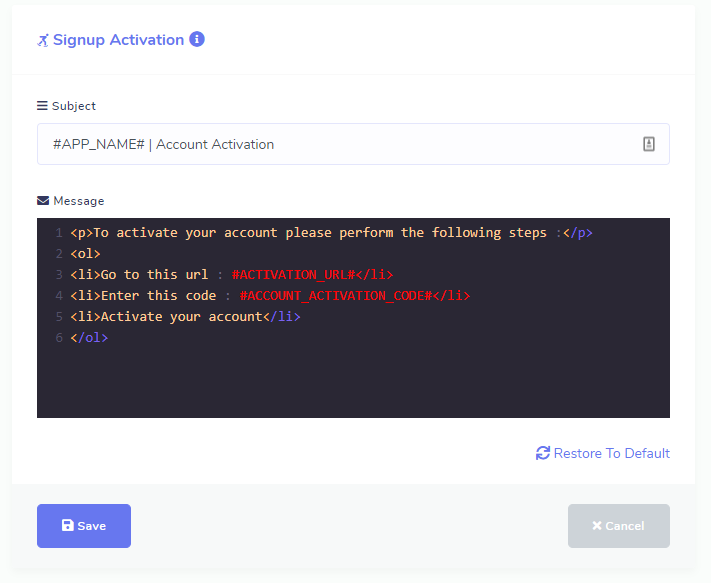
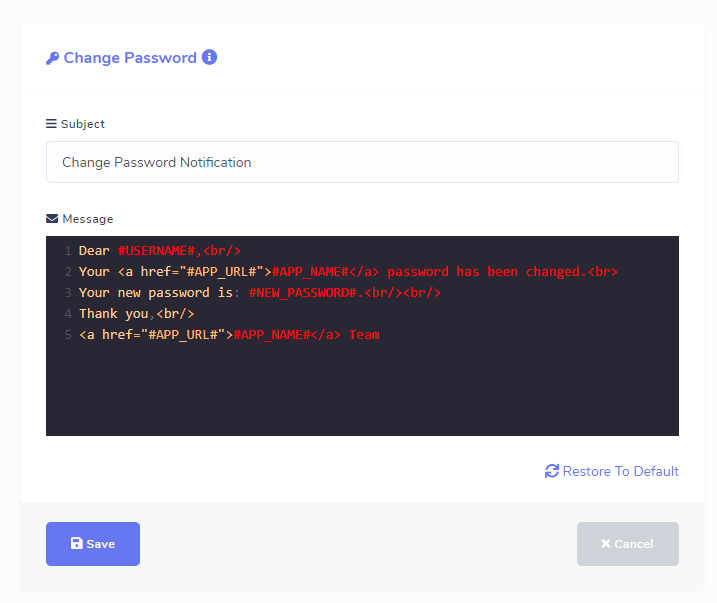
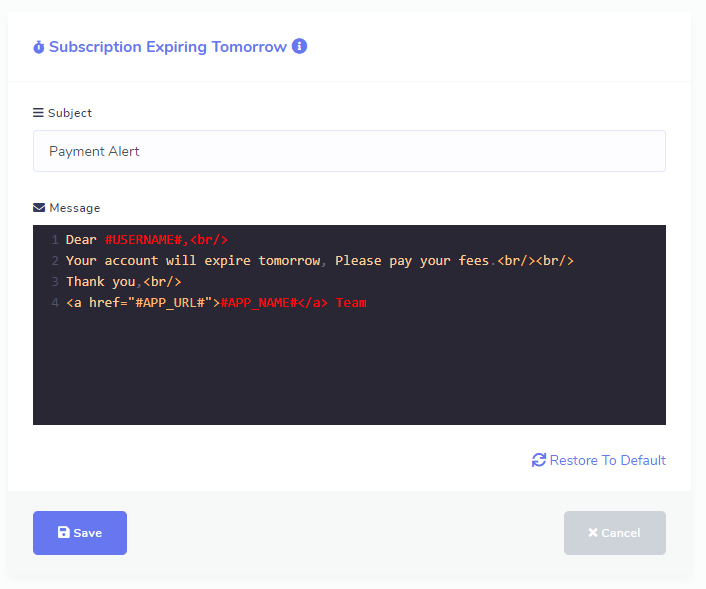
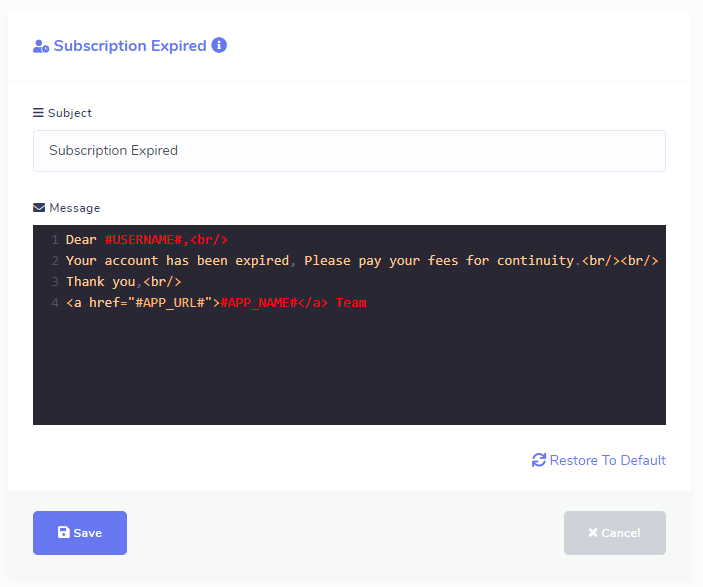
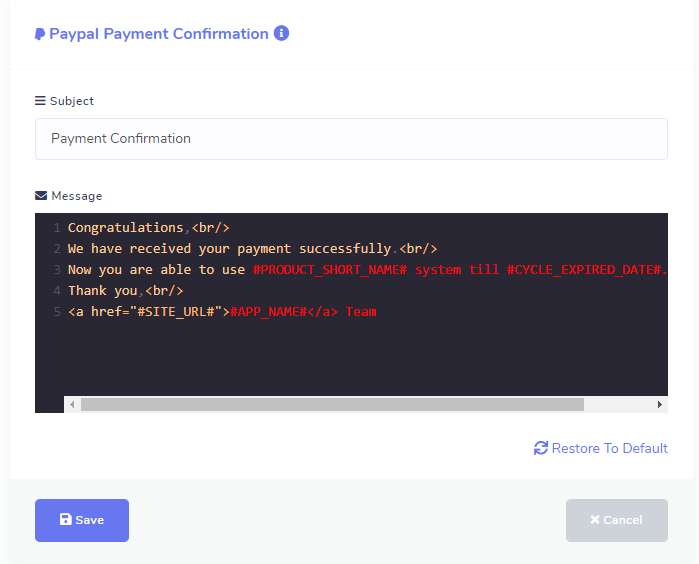
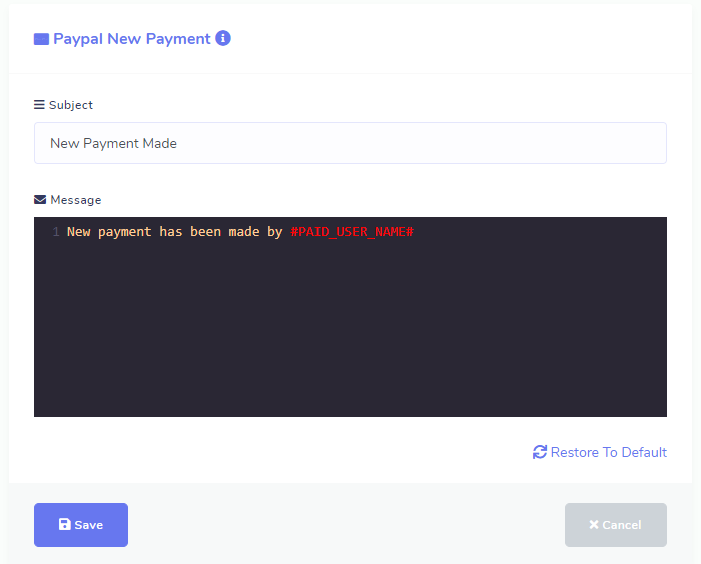
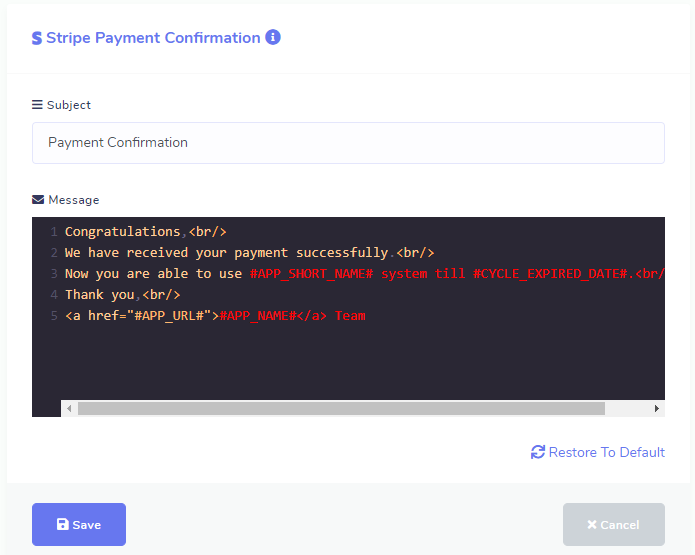
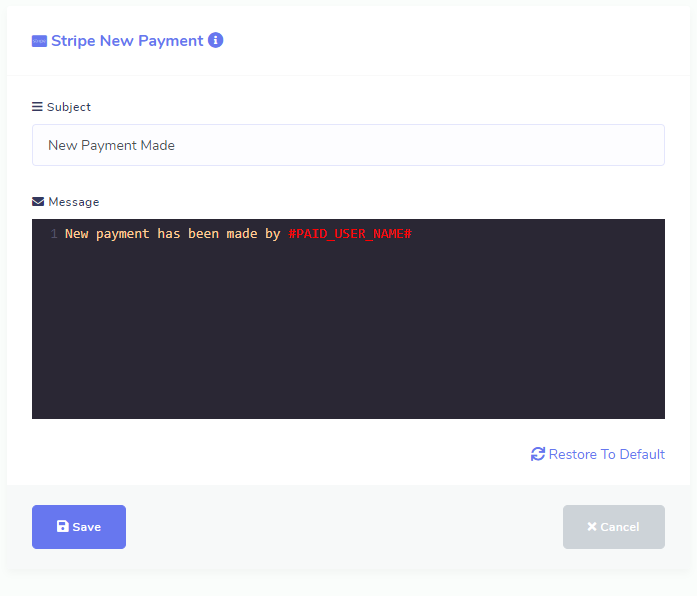
System sends several emails to users for different purposes. Here you can edit the email content to be sent. Some email templates are for extended license only.


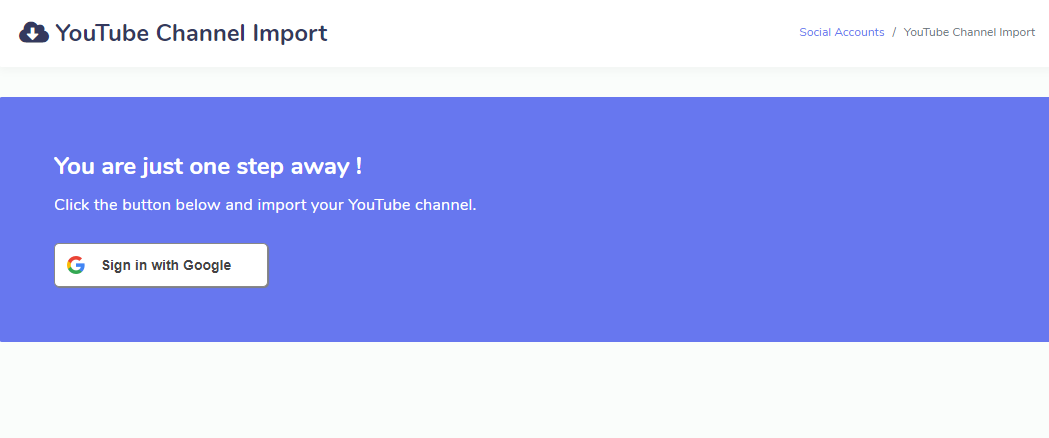
After Completing Google API Settings Properly, Now You've to Import your Google Account.

Clicking Import Account Menu will bring you a button named Login with Google, Simply Clicking it will start importing your Google account
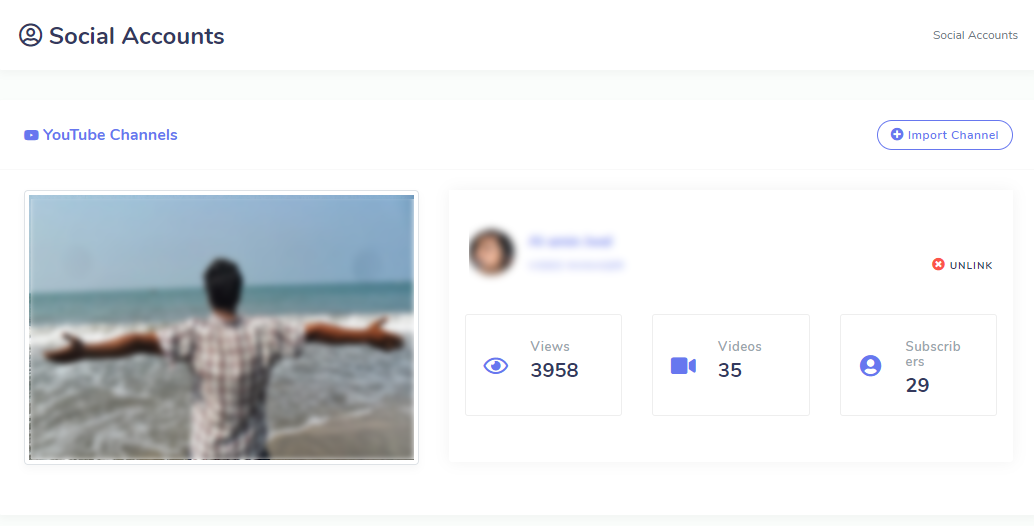
After google account import you will see look like this picture
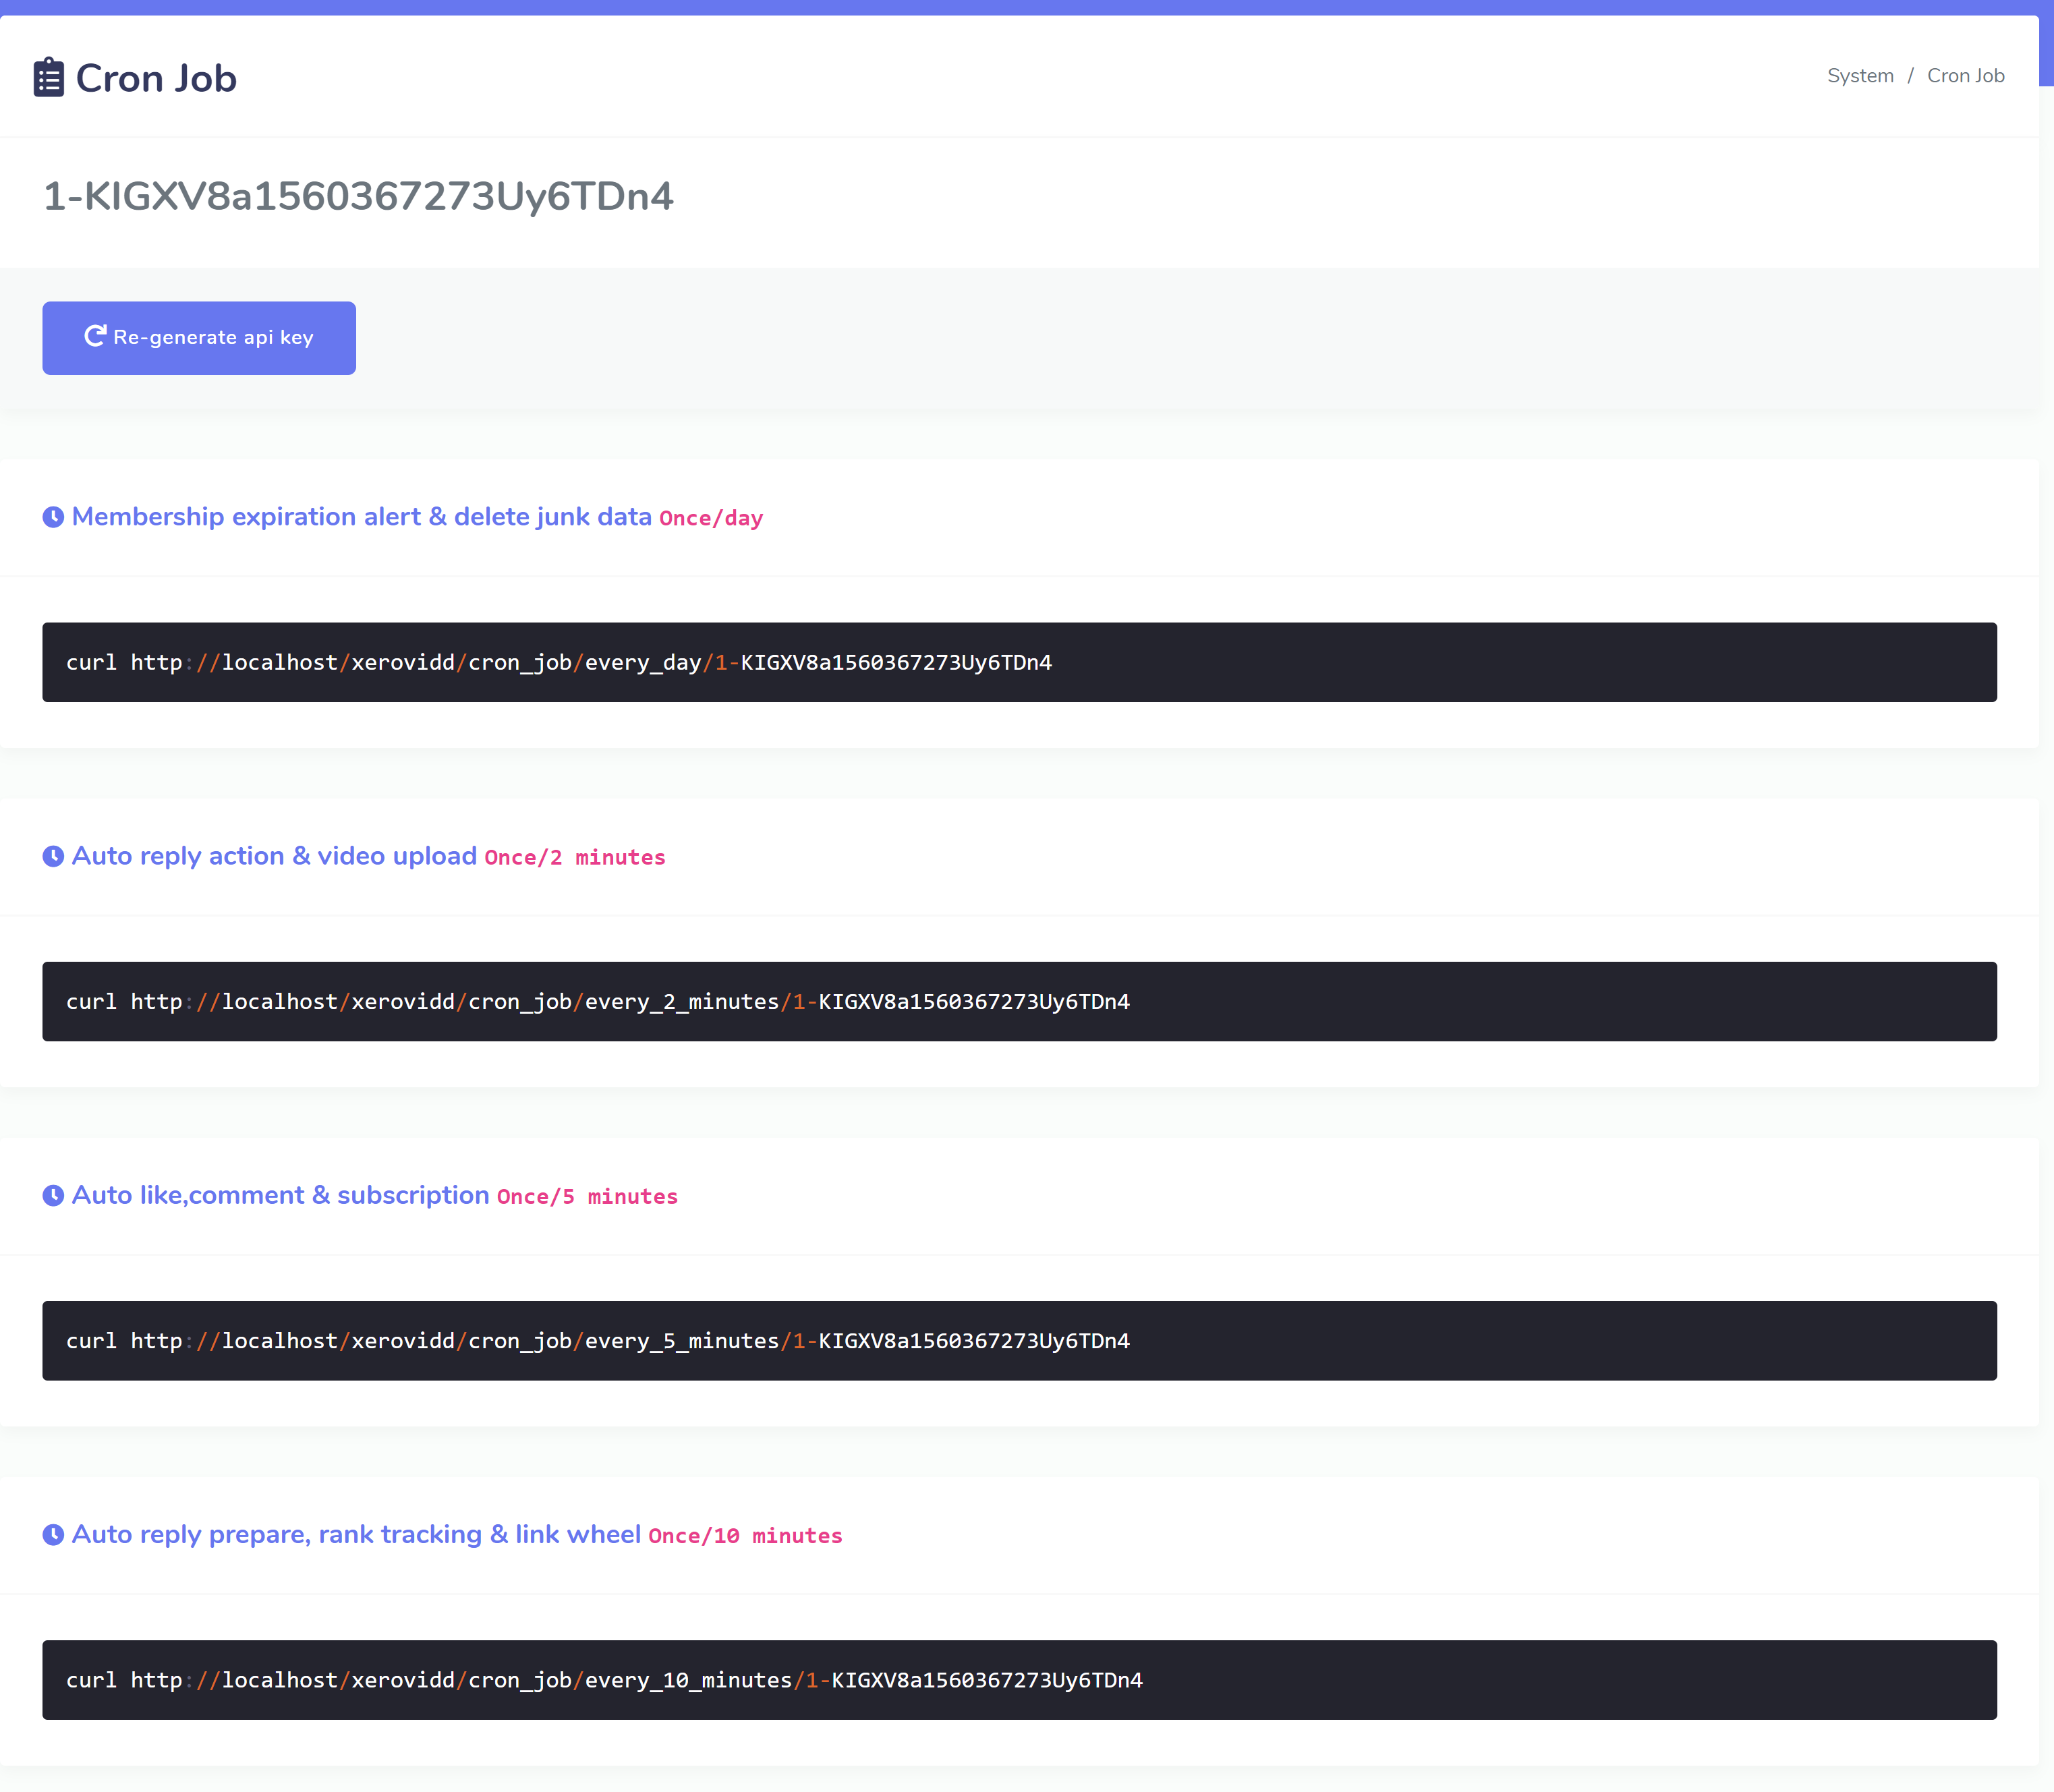
Here all the cron jobs need to setup on server are listed for your application. But first you have to generate api key for your application by clicking the Generate API Key. You can Re-generate your applications api key any time but doing this will require to setup cron job on server again. When you mouse over on the cron job commands you will see a text copy on the right side and by clicking on that text you can copy that cron job.
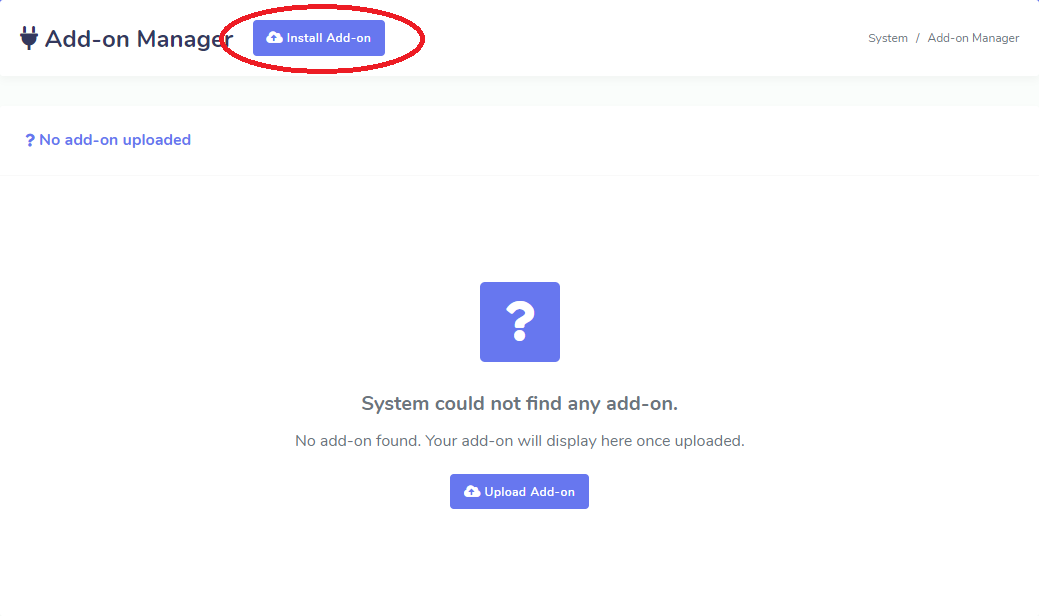
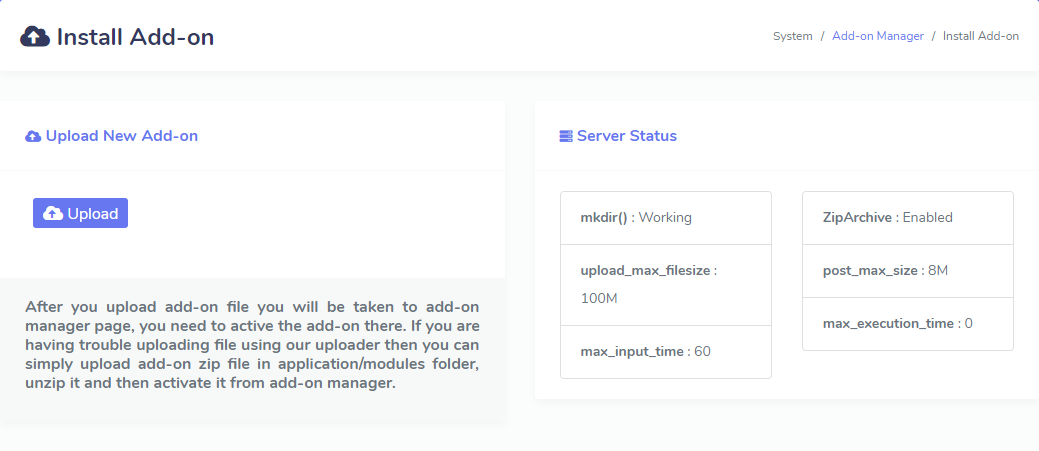
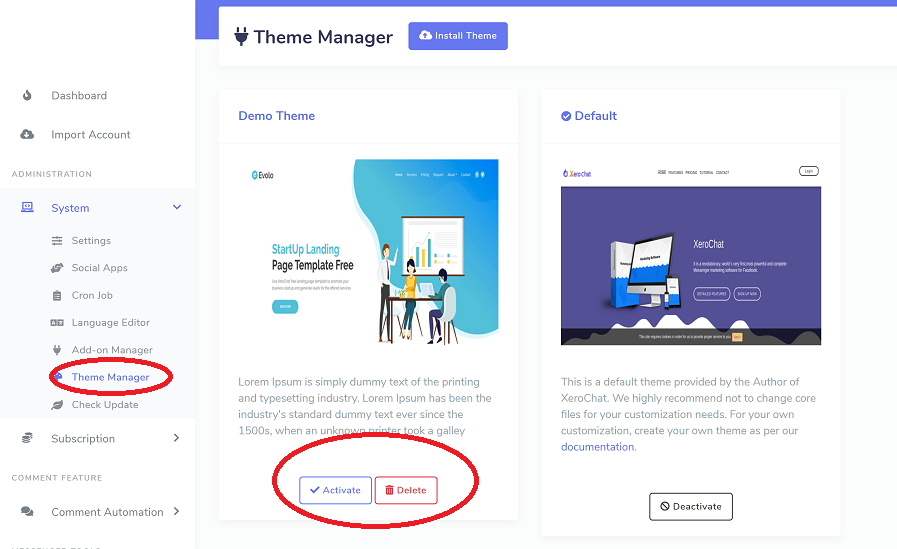
It has some greate add-ons. When you will want to install them then you have to go through this settings. If any add-on is installed then you will find all the installed add-ons here. You will find a button Install Add-on on the top of that page. Click on it and you will be redirect to a page where you have to upload your add-on. Next you have to activate your add-on using your add-on purchase code. You can also delete add-on if you wish from the list.

Majority of you guys are interested in XeroVidd extended license. Many of you guys already have a successful business leveraging the power of XeroVidd. Doing business means a powerful and converting sales page. Different people would like to design their sales page in different flow and content. It is not easy for us to meet everyone's requirements and reflect those in a single front-end theme.
Also many of you customized the front-end and they often reset in XeroVidd updates. You all want freedom to customize front-end and here you go. Now you can develop your very own XeroVidd front-end theme (XeroVidd v1.2.7). The most interesting part is, you can sell it to others personally or through marketplaces like codecanyon !
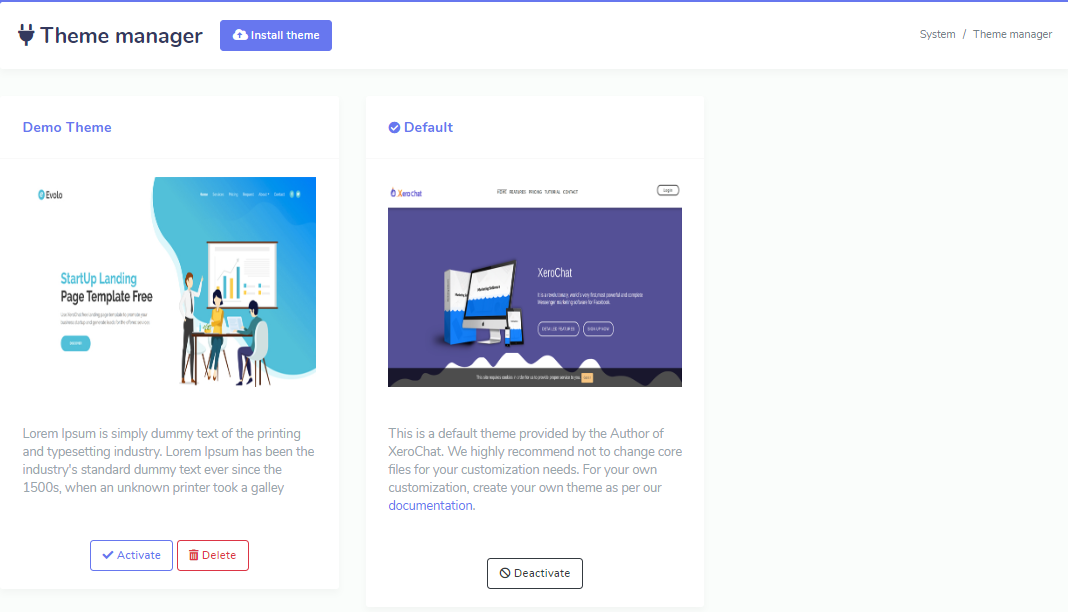
You can download this demo theme and start working on to practice and understand.
Demo ThemePlease don't open support ticket regarding theme development. If you have any issue or need to know anything, comment on the below comment area. We don't provide support for this purpose.
<?php
/*
Theme Name: CustomTheme
Unique Name: CustomTheme
Theme URI: https://example.com/theme
Author: CustomTheme Author
Author URI: https://example.com
Version: 1.0 Description: Custom theme description
*/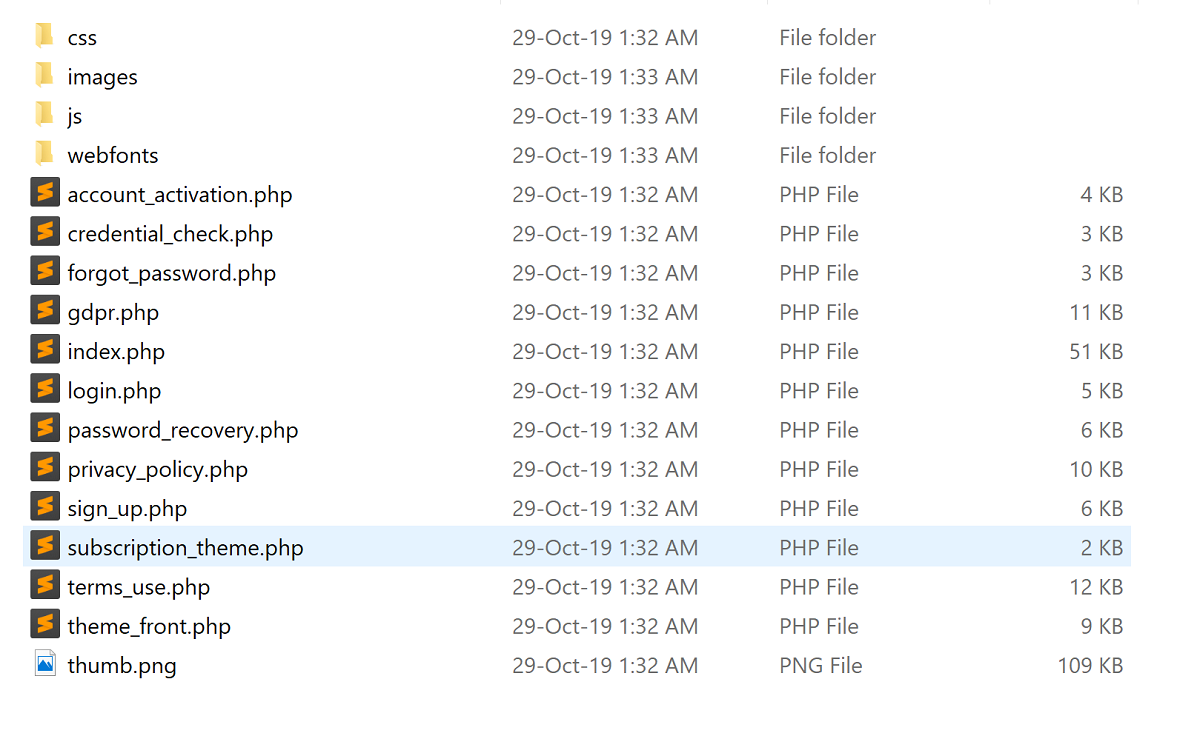
?>| Page | File Name |
|---|---|
| Login page | login.php |
| Sign Up page | sign_up.php |
| Account activation page | account_activation.php |
| Forgot password page | forgot_password.php |
| Password recovery page | password_recovery.php |
| Credential check page | credential_check.php |
| Page | File Name |
|---|---|
| Privacy policy page | privacy_policy.php |
| Terms of use page | terms_use.php |
| GDPR complaint page | gdpr.php |
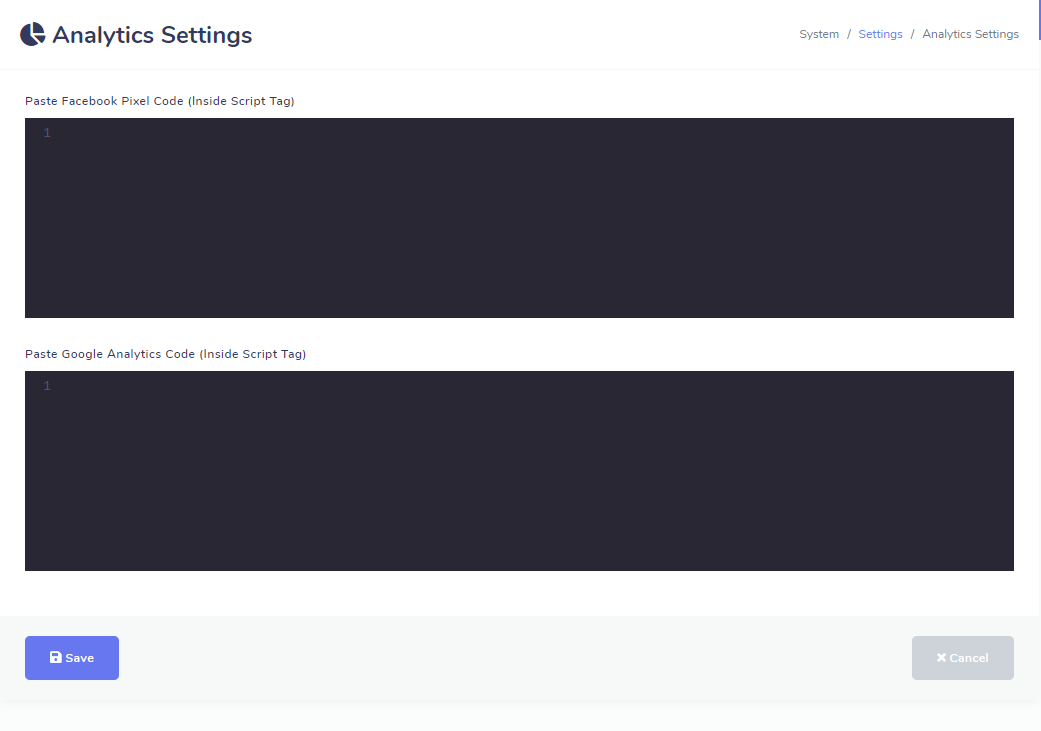
You can include Facebook pixel code provided by system admin into your theme by adding the below code inside your files ( index.php, theme_front.php and subscription_theme.php ) :
<?php $this->load->view("include/fb_px"); ?>Similarly you can include Google analytic code by adding the code below :
<?php $this->load->view("include/google_code"); ?> You can print them inside php tag like
<?php echo $this->config->item('product_name');?>or assign to a PHP varibale like
<?php $product_name = $this->config->item('product_name');?>| PHP Variables | Example value |
|---|---|
| $this->config->item('product_name') | Product name XeroVidd - Multichannel Marketing Application |
| $this->config->item('product_short_name') | Product short name XeroVidd> |
| $this->config->item('slogan') | Product Slogan #1 Multichannel Marketing Application |
| $this->config->item('institute_address1') | Company Name Xerone IT |
| $this->config->item('institute_address2') | Company Address Holding No. 127, 1st Floor, Gonok Para |
| $this->config->item('institute_mobile') | Company Mobile Number 01729853645 |
| $this->config->item('institute_email') | Company Email Address support@XeroVidd.com |
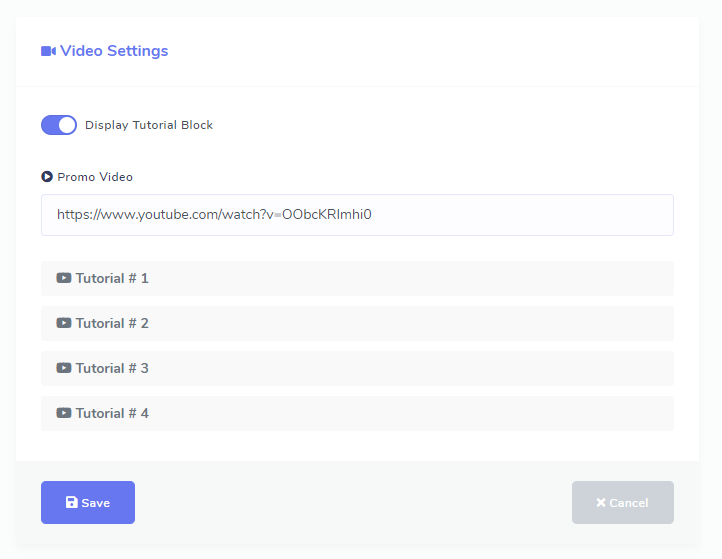
| $this->config->item('display_video_block') | Returns ‘0’ or ‘1’ ‘0’ means Promo video or Tutorial video block will not be displayed. ‘1’ means Promo or Tutorial video block will be displayed.> |
| $this->config->item('custom_video') | Returns video tutorial list in php array format.
1 = video title 2 = youtube url for video tutorial |
| $this->config->item('promo_video') | Returns youtube url for promo video. https://www.youtube.com/watch?v=wogvTfRYKWw |
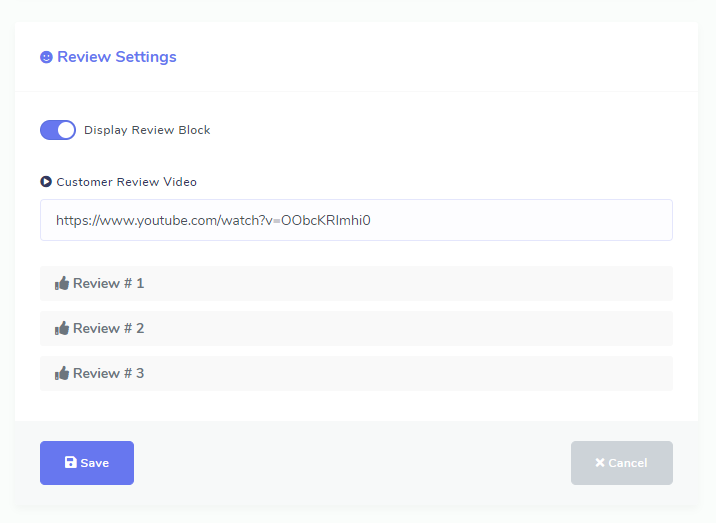
| $this->config->item('customer_review_video') | Returns youtube url for customer review video. https://www.youtube.com/watch?v=wogvTfRYKWw |
| $this->config->item('display_review_block') | Returns ‘0’ or ‘1’ ‘0’ means customer review block will not be displayed and ‘1’ means customer review block will be displayed. |
| $this->config->item('customer_review') | Returns the review of customer in array format
[1] = Reviewer designation [2] = Reviewer image url [3] = Review content |
| $this->config->item('enable_signup_form') | Returns ‘0’ or ‘1’ ‘0’ means sign up button will not be displayed in landing page or login page. ‘1’ means sign up button will be displayed in landing page or login page. |
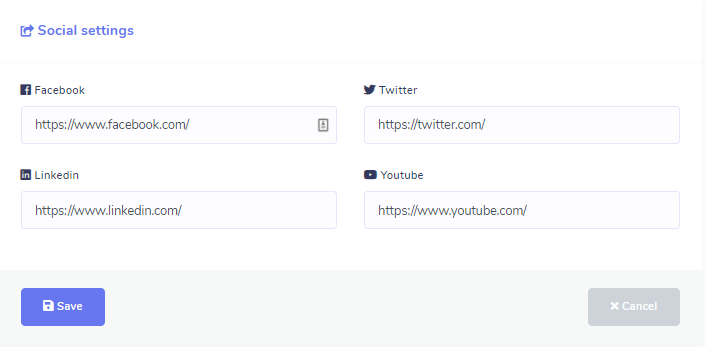
| $this->config->item('facebook') | Returns the Facebook profile url. https://www.facebook.com/xeroneitl |
| $this->config->item('twitter') | Returns twitter profile url. https://twitter.com/alaminJwel |
| $this->config->item('linkedin') | Returns linkedin profile url. https://www.linkedin.com/in/alaminjwel |
| $this->config->item('youtube') | Returns youtube channel url. https://www.youtube.com/xeroneit |
| $this->is_ad_enabled | Returns true or false true means advertises will be displayed. false means advertises will not be displayed. |
| $this->is_ad_enabled1 | Returns true or false. true means 970x90 advertise will be displayed. false means 970x90 advertise will not be displayed. |
| $this->ad_content1 | Returns the content for 970x90 advertise. <img src="https://via.placeholder.com/970x90"> |
| $this->ad_content1_mobile | Returns the content for 320x100 advertise that replaces 970x90 advertise in mobile devices. <img src="https://via.placeholder.com/320x100"> |
| $this->is_ad_enabled2 | Returns true or false. true means 300x250 advertise will be displayed. false means 300x250 advertise will not be displayed. |
| $this->ad_content2 | Returns the content for 300x250 advertise. <<img src="https://via.placeholder.com/300x250"> |
| $this->is_ad_enabled3 | Returns true or false. true means another 300x250 advertise will be displayed. false means 300x250 another advertise will not be displayed. |
| $this->ad_content3 | Returns the content for another 300x250 advertise. <img src="https://via.placeholder.com/300x250"> |
| $this->is_ad_enabled4 | Returns true or false. true means 300x600 advertise will be displayed. false means 300x600 advertise will not be displayed. |
| $this->ad_content4 | Returns the content for 300x600 advertise. <img src="https://via.placeholder.com/300x600"> |
| $pricing_table_data | Returns the content for pricing tables as PHP array.
You can access the array and print package modules using list like below :
|
You can print them inside php tag like
<?php echo base_url('home/login'); ?>Tag or assign to a PHP varibale like
<?php $login_url = base_url('home/login'); ?> | Page Name | URL to use |
|---|---|
| login.php | base_url('home/login') |
| sign_up.php | base_url('home/sign_up') |
| account_activation.php | base_url('home/account_activation') |
| forgot_password.php | base_url('home/forgot_password') |
| password_recovery.php | base_url('home/password_recovery') |
| credential_check.php | base_url('home/credential_check') |
| privacy_policy.php | base_url('home/privacy_policy') |
| terms_use.php | base_url('home/terms_use') |
| gdpr.php | base_url('home/gdpr') |
In order to load your .css (resides in css folder) or .js (resides in js folder) file you have to use the following formats
<link href="<?php echo base_url('home/xit_load_files/FOLDER_NAME/CSS_FILE_NAME'); ?>" rel="stylesheet"><script src="<?php echo base_url('home/xit_load_files/FOLDER_NAME/JS_FILE_NAME'); ?>"></script>Replace FOLDER_NAME, CSS_FILE_NAME, JS_FILE_NAME with your corresponding folder and file names.
<img src="<?php echo xit_load_images('FOLDER_NAME/IMAGE_FILE_NAME'); ?>">You can activate/delete theme from System > Theme Manager Menu
Since you will develop and test theme in your localhost, we are providing purchase codes for development environment.
We recommend not to change any form elements into the files login.php, sign_up.php and contact form in index.php file. If you want to change form’s outlook then we recommend to write css for the form elements.
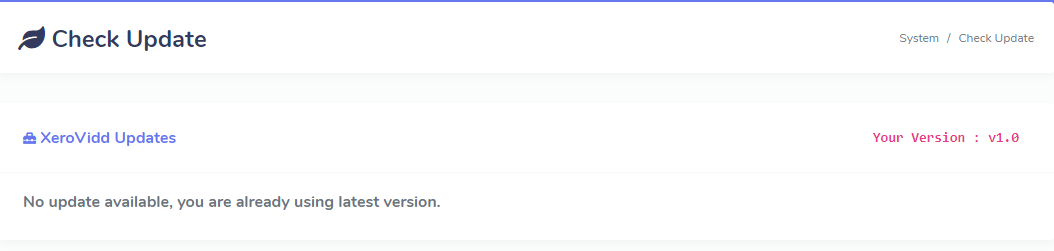
This section displays your application and add-ons versions. If any update is released from our end then you will see them here. You can update your application and add-ons from here.
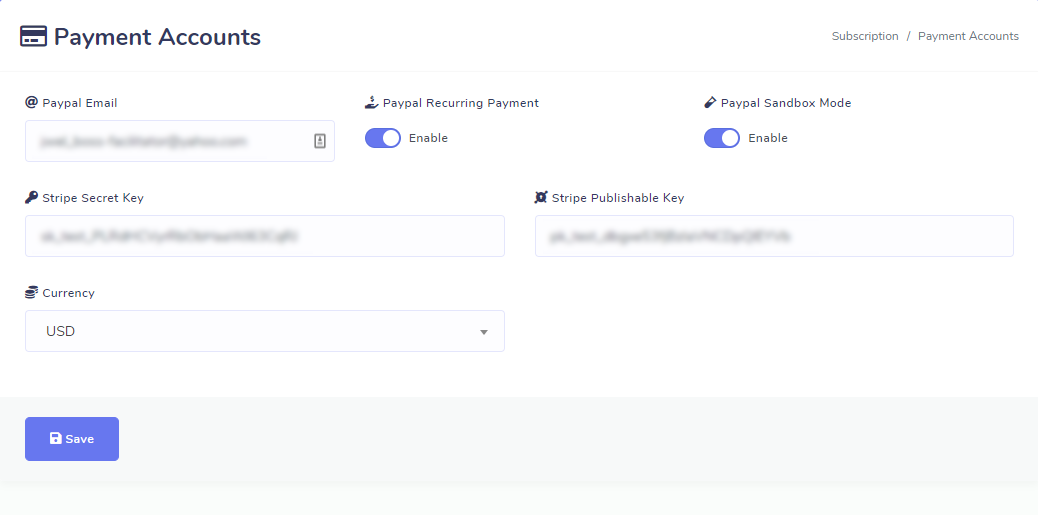
Here you will find all the subscription related settings. This section is devided into six sub-section.

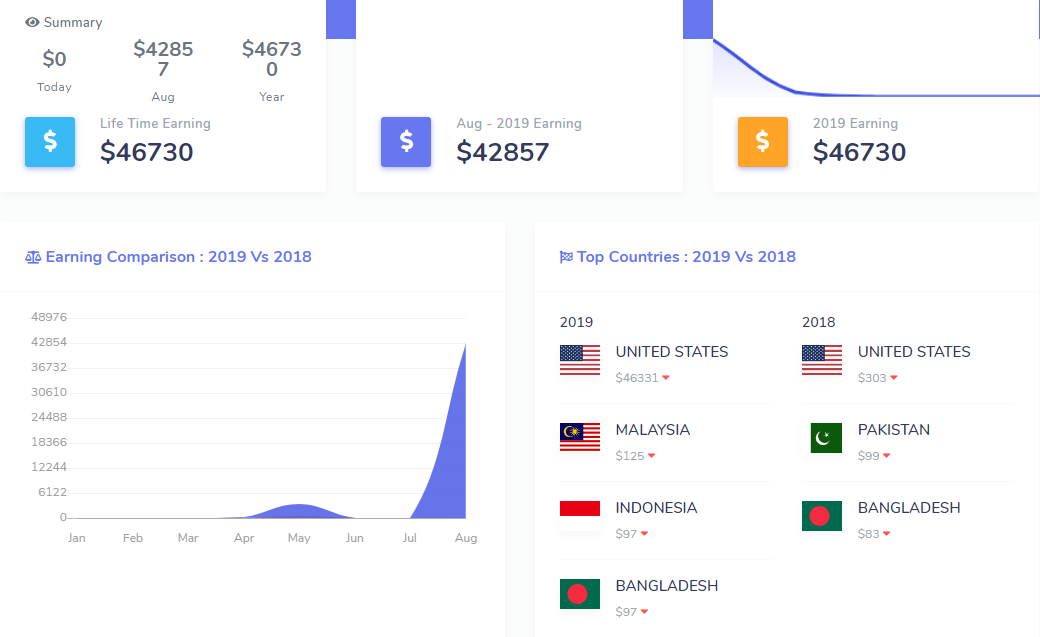
This section will show your earning summary. You can see your Life Time Earning, Current Month Earning, Current Year Earning, Earning comparison of consicutive last two years and Top countries of consicutive last two years.
This section will show your earning summary. You can see your Life Time Earning, Current Month Earning, Current Year Earning, Earning comparison of consicutive last two years and Top countries of consicutive last two years.
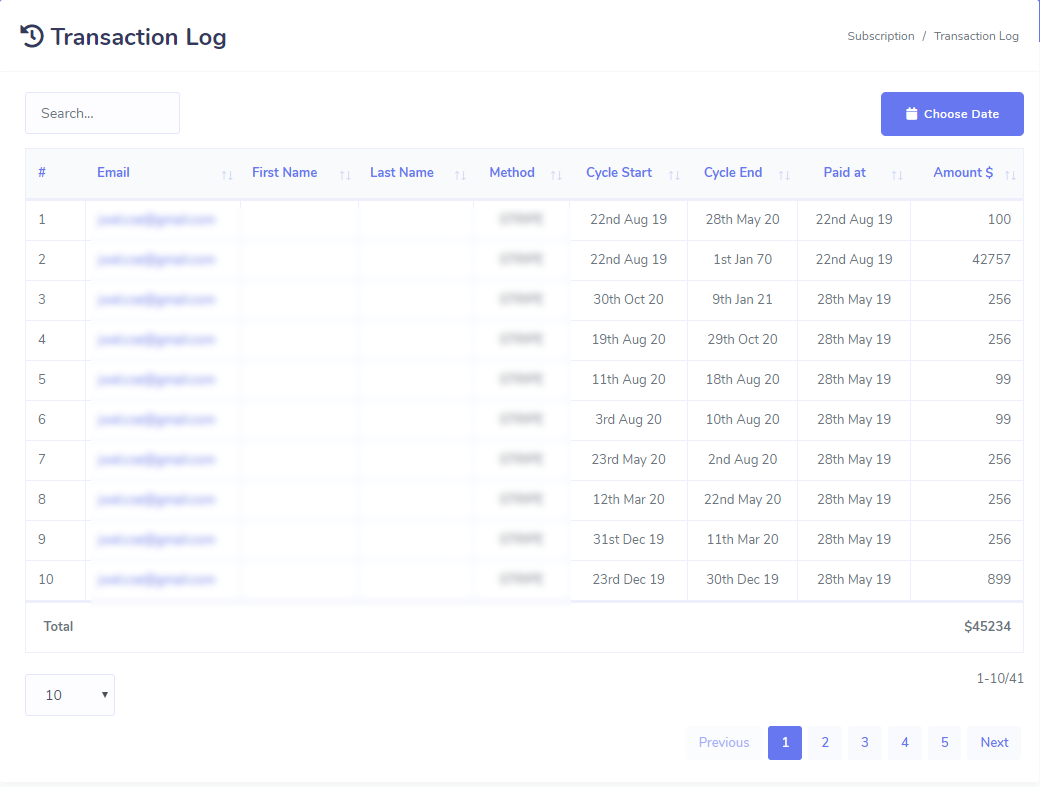
Here you will find all the transaction occured by your users. You can filter your result by choosing the date range by clicking the button placing on the top of the tansaction list named Choose Date
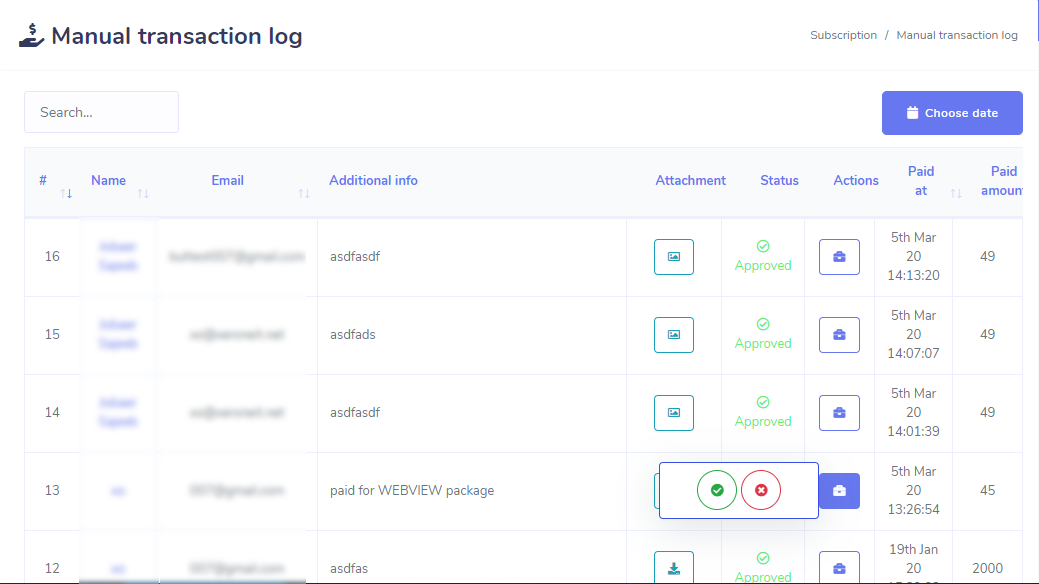
If you want to take manual payment from the user then set instruction for manual payment the user can find the details about how they pay to you.

After the Manual payment user given it will show pending, until admin approved the manual payment from the user.
Social Apps
In this section you will see list of all social apps like Google, Facebook. This section will help you to customize your social app settings.
Google
After entering this section you will find all the necessary settings of your current Google app. Change is as necessary.
Video Tutorial Playlist: Google App & Verification
Facebook
In this section you will see all your Facebook app settings. You can add a Facebook app settings by clicking the button Add New APP which is placed on almost on the top of this page. You can also edit, delete your apps using the action buttons attatched with each setting lists.